
Last updated October 31, 2026
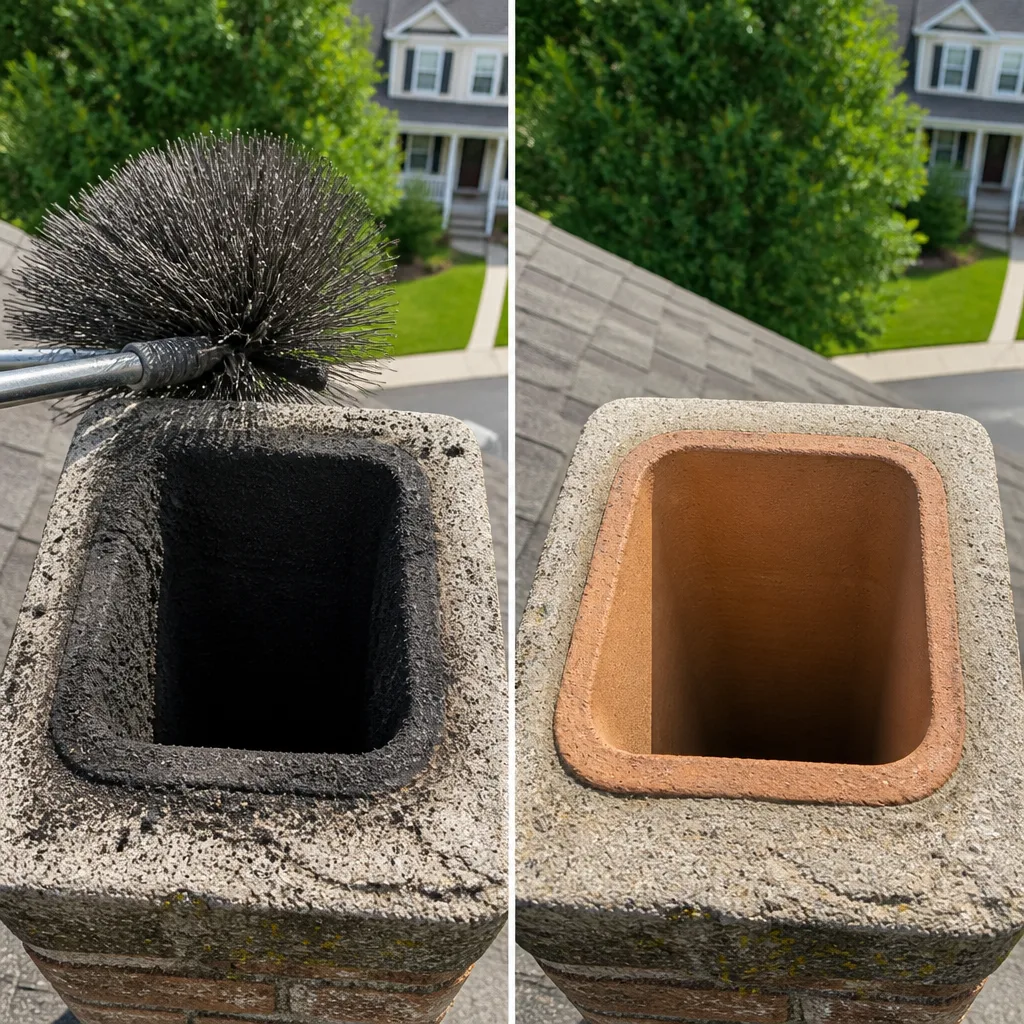 Sweep & inspection
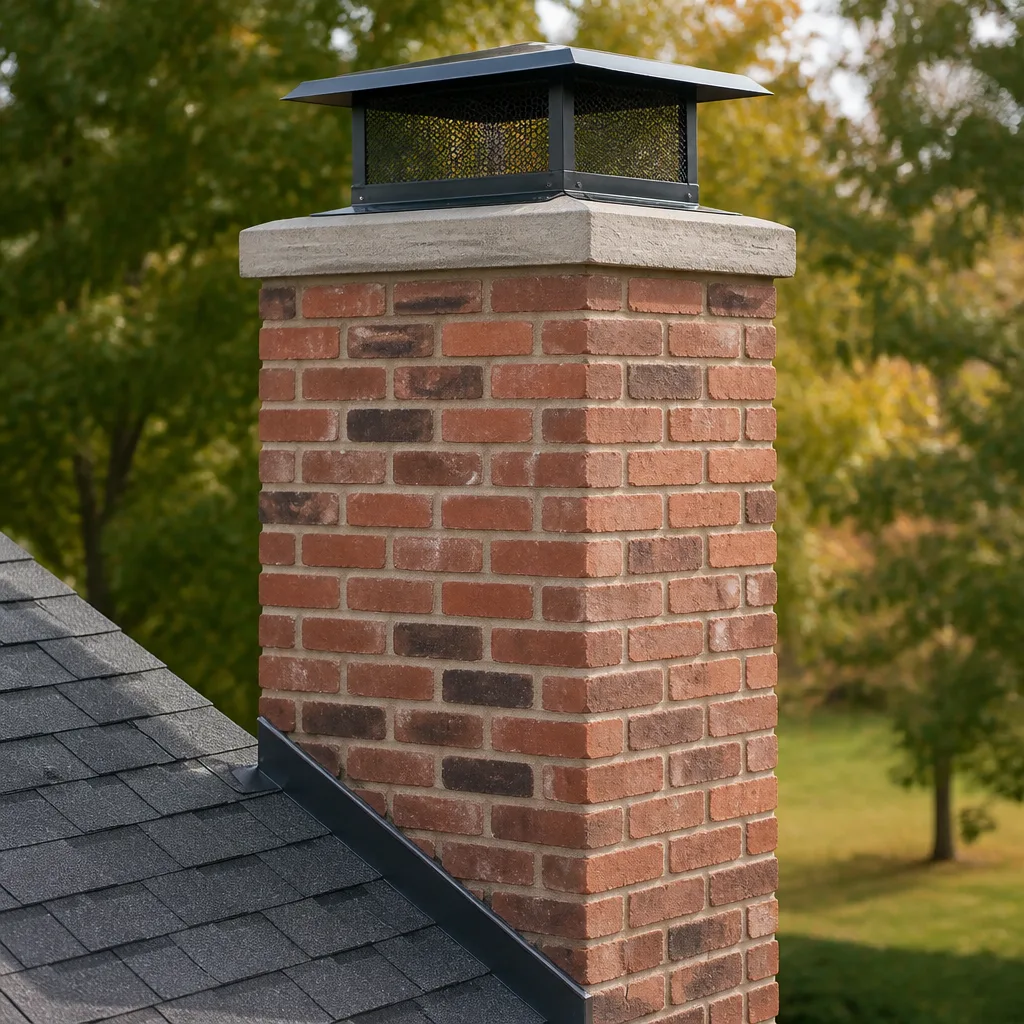 Caps & crowns
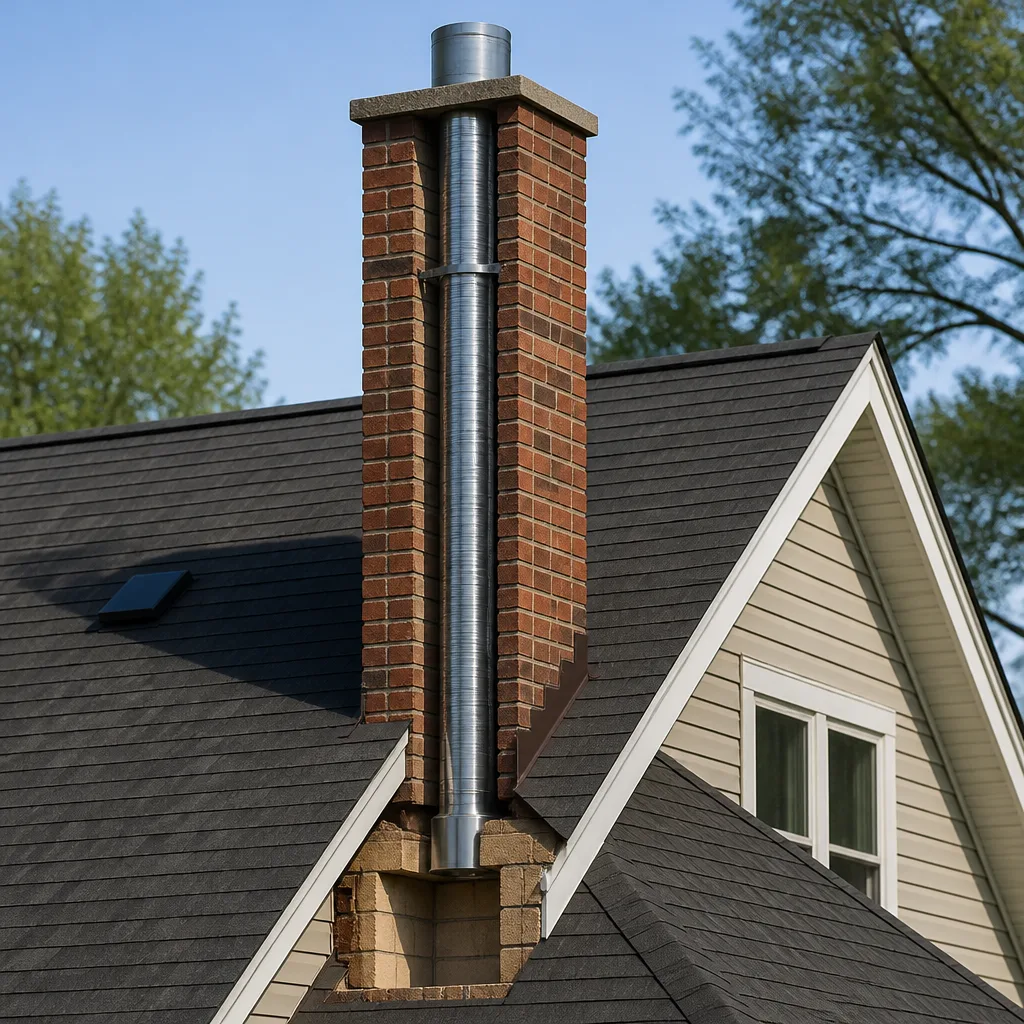 Flue relining
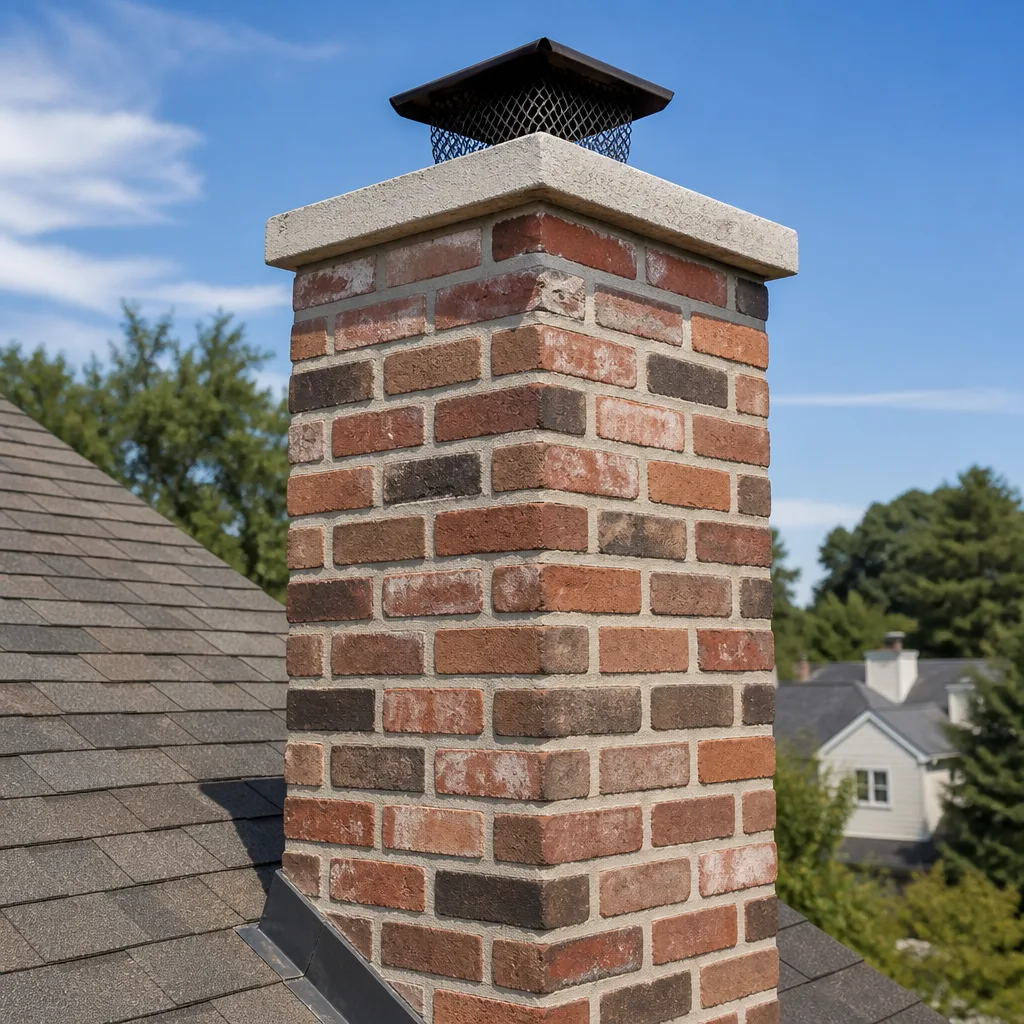 Masonry repair
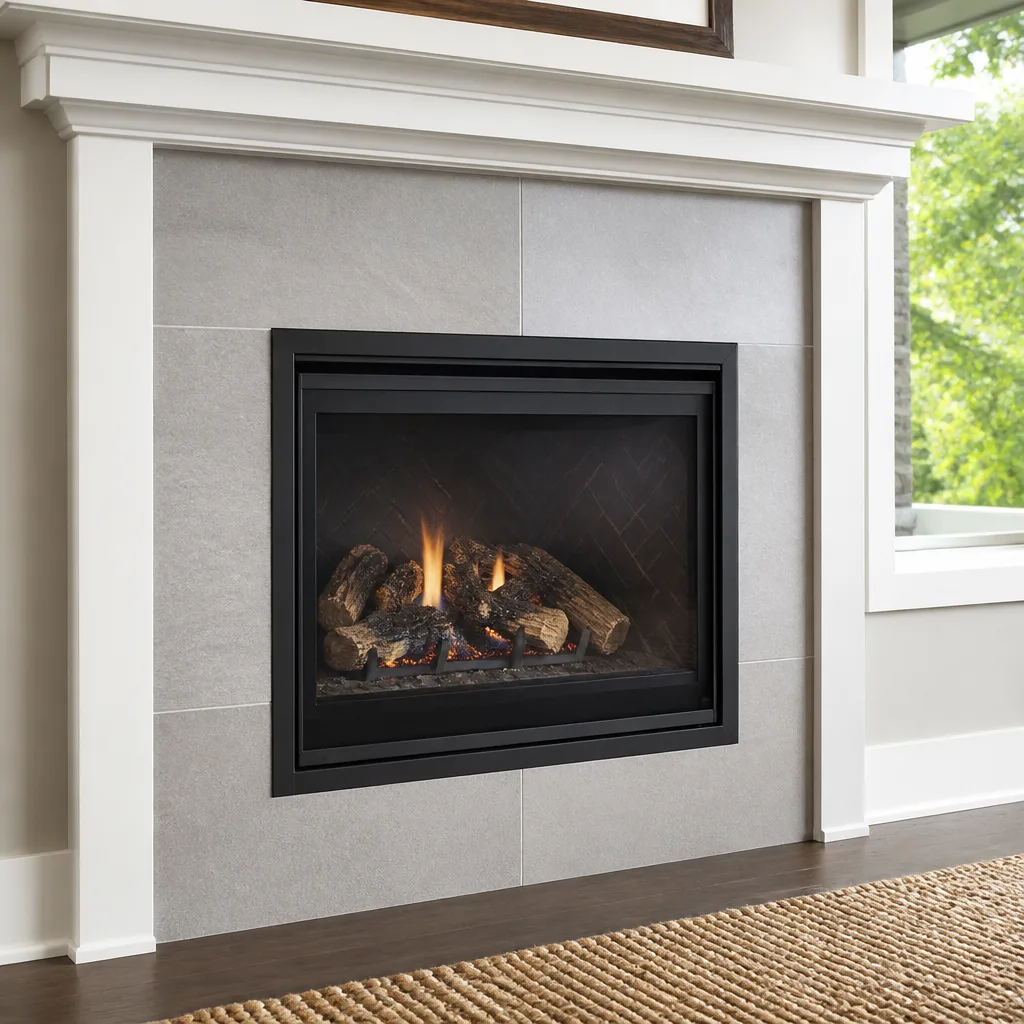 Gas fireplace service
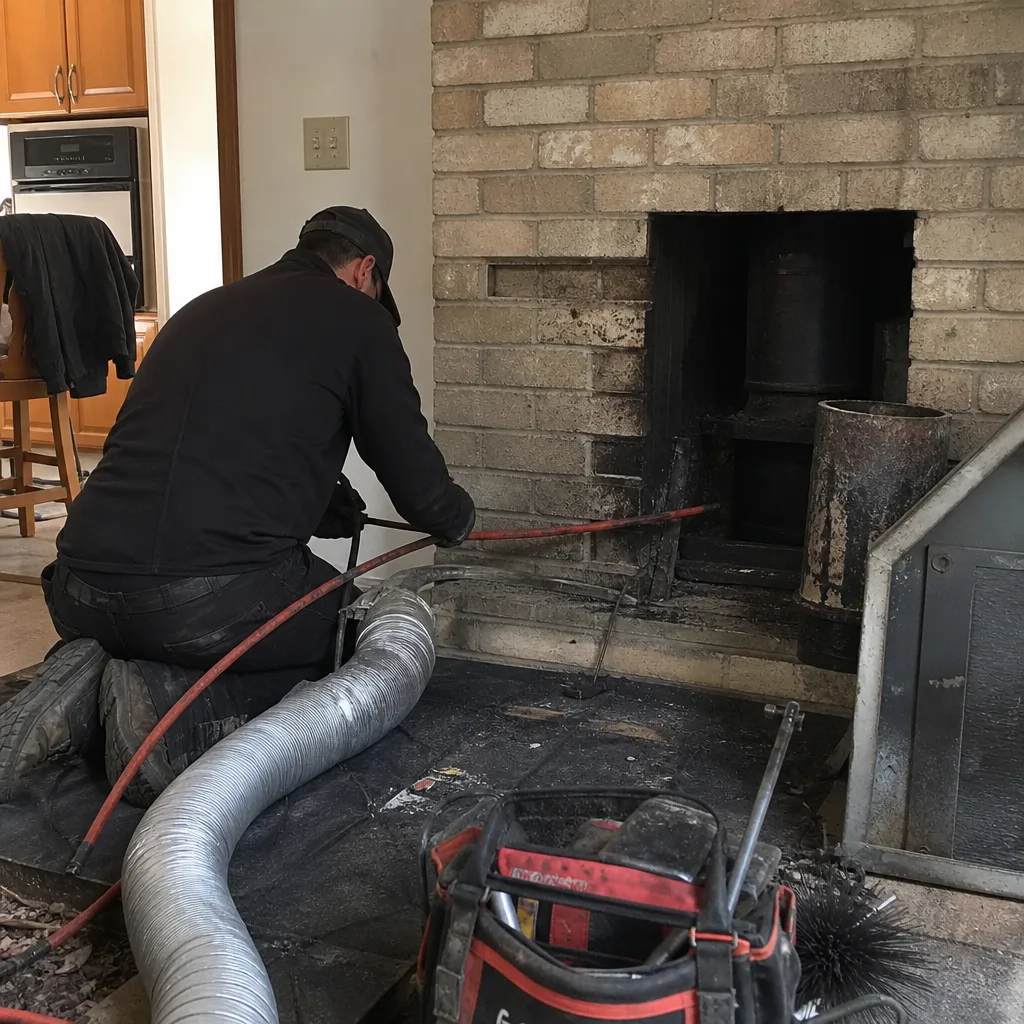
Level 1 sweep and inspection to the NFPA 211 annual standard - flue, crown, cap, and flashing checked and photographed
Chimney sweep logs do not sweep chimneys. They loosen some creosote - which then falls where a brush and vacuum still have to collect it.
Chimney Cleaning Warning Signs: A Belmont Cragin Homeowner’s Reference Guide
Here’s a counterintuitive fact about chimney problems: the most serious ones usually announce themselves quietly, months or even years before they become dangerous. A subtle white bloom on brick, a faint smell on a humid summer afternoon, a damper that’s a little too stiff to close. In Belmont Cragin, where the housing stock spans 1920s bungalows and mid-century Georgians, the original chimney systems are now 70 to 100 years old, and they communicate through symptoms most homeowners aren’t trained to read. This guide covers the warning signs you can identify yourself, what each one tells you about the specific component that’s failing, and how to document what you see before a sweep ever sets foot in your home. For Chimney Sweep Maintenance Checklist for Belmont Cragin Homeowners, see our dedicated resource.
Quick Answer
The most common chimney warning signs in Belmont Cragin homes are a smoky smell in summer, white staining on exterior brick, a rusting damper or firebox, flaking mortar joints, and a creosote odor that persists after cleaning. Each symptom maps to a specific failure point, whether a liner crack, a failed crown, or a moisture intrusion path. Most of these signs are visible from the ground or firebox opening without tools, and a clear photo record helps a chimney sweep diagnose the issue accurately before any work is recommended. If problems do appear, our Chimney Sweep Troubleshooting: Common Problems and How to Fix Them explains what to check next.
Styles & brands we work with
Table of Contents
- White Staining: What Efflorescence Actually Tells You
- The Summer Smoky Smell: Negative Draft and Liner Gaps
- Creosote Odor vs. Musty Odor: Two Different Failures
- The Firebox Check: What to Look For Without Any Tools
- Rusting Damper and Firebox: The Crown and Cap Connection
- Cracked Clay Tiles: When It’s a Liner Job and When It Isn’t
- Documenting Warning Signs: Photos That Help Your Sweep
- Belmont Cragin Specifics: Age, Weather, and What We See Most
White Staining: What Efflorescence Actually Tells You
A white stain running down your chimney exterior isn’t cosmetic and it isn’t harmless. That crystalline bloom is called efflorescence, and it forms when water moves through masonry, dissolving salts from the mortar and brick, then depositing them on the surface as the water evaporates. The stain itself is salt. The problem is the water that carried it there. In Belmont Cragin, where winter freeze-thaw cycles are relentless from November through March, trapped moisture expands as it freezes and progressively pries apart mortar joints and brick faces. A chimney that shows efflorescence today will show spalling, which is the flaking and crumbling of brick faces, within a few seasons if the water path isn’t closed.
The location of efflorescence is diagnostic. Staining high on the chimney, near the top, typically means a failed crown or a cracked wash that’s letting rain soak into the top courses of brick. Staining that starts lower, at the roofline or below, often points to missing or deteriorated flashing, or to porous brick that has never been treated. Staining on an interior wall adjacent to the chimney in an upstairs bedroom or hallway means water is penetrating the full masonry thickness, which is a more advanced case. We’ve seen efflorescence on interior chimney walls in Belmont Cragin homes where the crown had been failing for years before anyone connected the peeling paint in the adjacent room to the chimney itself.
Here’s what the stain pattern tells you before anyone climbs up for a look:
- Top-down staining: Crown or top-course mortar failure. Rain enters at the top and travels down by gravity.
- Mid-chimney staining at a single horizontal band: Usually a failed flashing line where the chimney passes through the roof, or a single cracked mortar joint that lets water in at that elevation.
- Widespread irregular staining: Saturated masonry. This often follows years of uncorrected moisture intrusion, and brick may already be soft to the touch.
- Staining that worsens after snow: Freeze-thaw cycling is actively working on the masonry. The cycle is snow melts, water penetrates, freeze expands, more cracking results.
The fix for efflorescence is never just washing the brick. You can remove the visible salts with a stiff brush and diluted vinegar, but if the water path remains, the staining returns within a season. The repair follows the diagnosis: a crown rebuild for top-down staining, flashing replacement for the mid-chimney band, or masonry repointing and possibly a breathable sealant for widespread porosity. Getting this wrong is expensive and frustrating, which is why we start every repair assessment with a physical inspection of the exposed chimney structure, not just a ground-level visual check.
The Summer Smoky Smell: Negative Draft and Liner Gaps
If you walk past your fireplace in July and catch the smell of last winter’s fires, something specific is happening inside your chimney. The odor isn’t just a lingering ghost of burned wood. It’s the smell of creosote deposits being warmed and off-gassing, and it reaches your living room because the normal upward air current in your chimney has stalled or reversed. In hot weather, the air inside the chimney can become warmer than the air outside, which should still rise, but in a house with air conditioning running and windows closed, the interior of the home operates at slightly negative pressure relative to the chimney chase. That pressure difference pulls air down the flue instead of letting it rise, carrying the creosote smell with it.
This is called negative draft, or reverse stack effect, and Belmont Cragin homes with central air are prime candidates because the tight window seals and constant AC operation create exactly the depressurization that overcomes natural chimney draft. The smell is strongest in the room with the fireplace, but you can also notice it in adjacent rooms, especially upstairs where warm air collects.
The smell itself is not necessarily a sign that you need a new liner. It can mean:
- Creosote buildup is significant enough to off-gas noticeably. The fix is a professional sweep, and the odor should disappear within 24 hours of cleaning if the flue is sound.
- A damper that isn’t sealing fully. Even a quarter-inch gap at the closed damper lets a surprising amount of chimney air into the room. Dampers rust, they warp, they sag on their hinges. A damper that won’t seat is a mechanical repair, not a cleaning issue.
- A liner gap or crack that’s allowing flue gases to enter the chimney cavity and find a path into the home through mortar joints or wall cavities. This is the more serious cause, and it’s why we always camera-inspect the flue when a homeowner reports summer smoke smells that persist after a cleaning.
You can test the draft balance yourself on a day when the house is closed up and AC is running. Light a match or a stick of incense near the firebox opening and watch the smoke. If it drifts into the firebox and up toward the flue, your draft is adequate and the smell likely tracks to creosote or a damper seal. If the smoke drifts out into the room, you have a confirmed negative pressure situation, and the fix may involve damper repair, a top-sealing damper, or addressing the pressure imbalance in the home. That’s a conversation about the whole ventilation system, not just the chimney.
Creosote Odor vs. Musty Odor: Two Different Failures
Your nose can distinguish between a chimney that needs cleaning and a chimney that has water inside it. The difference matters because the fixes are entirely different, and treating the wrong cause wastes time, money, and a season of burning.
Creosote odor is sharp, tar-like, and carries an acrid edge. Some people describe it as smelling like asphalt or burnt barbecue that never fully burned. It’s strongest after a hot burn, on humid days, or when the damper is open. Creosote is the natural byproduct of wood combustion, and all wood-burning chimneys accumulate it to some degree. The odor becomes noticeable inside the home when buildup is thick enough that a volume of the tar-like substance is sitting on the flue walls and releasing volatile compounds. The fix is a sweep. In our experience cleaning chimneys across Belmont Cragin, a flue that’s producing noticeable summer creosote odor usually has at least a quarter-inch of buildup somewhere along its length, typically at the smoke shelf or in the upper third of the flue where temperatures are lowest.
Musty or earthy odor is different. It smells damp and organic, like a basement after rain or a pile of wet leaves. Musty odor tells you water is entering the chimney and sitting somewhere it doesn’t belong, often behind a damp firebox wall, under a saturated smoke shelf, or in the chimney chase of a factory-built fireplace. This is not a cleaning issue. Sweeping the flue will do nothing for a musty smell because the source is moisture, not combustion residue. The fix involves finding the water entry point: a failed crown, a deteriorated cap, flashing that has pulled away from the roof, or condensation inside an uninsulated metal flue.
One more odor distinction worth knowing: a smell like vanilla or artificial sweetness after a gas fireplace has been running usually means the gas logs are dirty and producing incomplete combustion at the firebox level. That’s a different but related issue, and it typically aligns with a gas log cleaning or a burner adjustment, not a chimney sweep.
If you’re unsure which odor you’re dealing with, note when you smell it. The creosote smell is strongest in warm weather and when the house is closed up. The musty smell is strongest after rain, during snowmelt, or in the spring when the ground is saturated and humidity is high. That timing difference is diagnostic, and it helps your sweep know where to start looking if you mention it at booking.
The Firebox Check: What to Look For Without Any Tools
You don’t need a ladder, a camera, or any specialty equipment to gather a useful diagnostic picture of your chimney’s condition. The firebox opening tells you more than most homeowners realize, and a disciplined ten-minute inspection, done twice a year, catches problems early enough that the repairs are smaller and cheaper.
Here’s what to look at, in order, from the vantage point of someone kneeling at the hearth with a flashlight:
- The firebrick panels, left, right, and back. Look for cracks that widen at the top, panels that have shifted or separated from the firebox walls, and any brick where the surface has begun to powder or crumble. Hairline surface cracks in refractory firebrick are common and often benign. Cracks where you can fit the edge of a coin, or panels that move when pressed with a gloved hand, mean the firebox lining is deteriorating and heat is reaching the structure behind it.
- The mortar joints between firebrick. In older Belmont Cragin fireplaces, especially in pre-1950 homes, the firebox was built with regular clay brick and mortar, not refractory panels. If the mortar joints have eroded more than half an inch deep, or if you can flick out chunks with a screwdriver, the firebox needs repointing. This is not cosmetic; open joints let heat and embers reach combustible framing.
- The damper plate, its hinge points, and the frame it seats against. Surface rust is normal and expected on any damper that’s been in service for decades. Deep rust that has thinned or holed the metal is a sign the damper is on its last seasons. Pay attention to whether the damper opens and closes smoothly or whether it sticks, grinds, or won’t fully seat when closed.
- The smoke shelf area above the damper. With a flashlight angled upward from inside the firebox, you can usually see the flat shelf where falling creosote and debris collect. Heavy accumulation here, especially if it’s shiny, tar-like, or flaking in large sheets, confirms significant creosote loading that warrants a sweep before the next burn.
- The hearth extension and the floor of the firebox. Look for loose or cracked hearth tiles, a hearth that has separated from the floor, or any visible gap where the firebox floor meets the side walls. These gaps are ember paths, and a stray ember that reaches framing is a house fire, not a chimney repair.
What you see in the firebox tells a story about the liner only indirectly. A firebox in good shape with a heavy creosote presence at the smoke shelf suggests a flue that’s been burning dirty, often from unseasoned wood or an oversized fireplace that smolders. A firebox with cracked panels and eroded mortar but little creosote suggests high heat exposure and age, which makes a flue inspection more urgent since the liner is likely in similar condition. Neither observation is a diagnosis by itself, which is why the camera inspection remains the standard for any real flue assessment.
Rusting Damper and Firebox: The Crown and Cap Connection
When a homeowner in Belmont Cragin notices that their damper has developed a coating of rust, or that the firebox doors and grate are oxidizing faster than they used to, the first instinct is often to blame the fireplace itself. The metal is old, it’s been through fires, rust happens. But rust inside the firebox is rarely caused by the fireplace. It’s a symptom of water and air reaching parts of the system that should stay dry, and the cause is almost always above the roofline.
Water enters chimneys from two primary overhead sources: the crown, which is the concrete or mortar wash that caps the masonry at the very top, and the rain cap, which sits over the flue opening. A crown that has developed hairline cracks lets rainwater seep into the upper masonry, and that water can travel down through the chimney structure, appearing at the damper level days or weeks after the rain has stopped. A missing or deteriorated rain cap lets rain fall directly down the flue, where it lands on the damper plate and runs into the firebox. Either way, the rust you see inside is water that entered from above.
There’s a secondary culprit worth mentioning specific to Midwestern chimneys: condensation. When warm, moist interior air meets a cold flue and drafts down it in winter, which is a draft reversal pattern common in homes with strong exhaust fans or tight window replacement, the moisture in that air condenses inside the flue. A flue liner that isn’t insulated, or a masonry chimney with no liner at all, provides the cold surface for that condensation. The water then runs down the flue walls and drips onto the damper, the smoke shelf, and the firebox floor. The rust pattern from condensation tends to be more even and widespread, while rain intrusion rust is concentrated at the damper plate and directly beneath the flue opening.
What should you do if you see rust? Look at the timing. Rust that appears during the heating season, when the fireplace is in use, and that coincides with visible dripping or water staining after rain, points overhead. Rust that develops slowly regardless of rain and is accompanied by a musty smell year-round points at condensation dynamics. Both problems get worse with neglect, and both are diagnosed from the top down, not the bottom up. A sweep who starts at the firebox and never looks at the crown is missing the chapter that matters.
Cracked Clay Tiles: When It’s a Liner Job and When It Isn’t
Hearing that you have a cracked clay liner tile feels dramatic, and plenty of homeowners in Belmont Cragin have been told that a single cracked tile means a full liner replacement, often quoted in the thousands of dollars. The truth is more nuanced. A cracked tile is a problem, and it needs to be addressed, but the severity and location of the crack determine the repair, and a full replacement isn’t always warranted.
Here’s the framework we use when a camera inspection shows a cracked clay tile:
- A single hairline crack in one tile, high in the flue: This is often the result of a chimney fire at some point in the past, or a freeze-thaw cycle that stressed one tile. If the crack doesn’t shift when probed, and the tiles are otherwise seated and aligned, this can often be monitored. The critical question is whether flue gases can escape through the crack into the chimney chase. If they can, repair is necessary; if not, it may wait.
- Multiple cracked tiles, especially with missing pieces or misalignment: This is a genuine liner failure, and flue gases are escaping into the chimney structure. The options are a full liner replacement, either with a rigid stainless system or a flexible liner, or a HeatShield ceramic resurfacing if the tiles are mostly intact enough to serve as a substrate for the resurfacing material. HeatShield is a jointless ceramic coating applied through the existing flue, and it restores a continuous, insulated surface without a full tear-out. It’s the right call when the tile stack is structurally stable but the joints and hairline cracking have compromised gas containment.
- Cracked tiles at the very bottom of the flue, just above the smoke shelf: These are often the result of thermal stress at the hottest point in the system, combined with moisture pooled on the smoke shelf. Repairs here are more involved because access is tighter, and the correct fix often involves a bottom-up resurfacing or partial liner installation rather than a full top-down replacement.
- Clay tiles that are soft, spalling, or crumbling when touched: This is the advanced stage of brick and tile deterioration from moisture and age. Resurfacing is generally not appropriate here because the substrate will not support the ceramic layer long-term. A liner system, typically a flexible stainless liner sized and insulated to the existing flue, is the right answer.
The point isn’t that cracked tiles are fine. A cracked tile is a legitimate finding and flue integrity matters for safety. The point is that the repair should be matched to the actual damage, and the tools to see that damage clearly now exist. A camera inspection removes the guesswork, and the images from that inspection should be shown to you, explained, and tied to the recommendation. If a contractor recommends a major liner job but won’t show you the camera images or can’t explain why the specific tiles in your chimney need the full treatment, get a second opinion. We use the phrase “restore, don’t replace” when the existing structure can support it, and we mean it specifically: HeatShield resurfacing on a sound tile stack costs substantially less than a full liner replacement and achieves the same gas-containment objective.
Documenting Warning Signs: Photos That Help Your Sweep
Before your sweep arrives, a few minutes with your phone camera can meaningfully improve the accuracy and speed of the diagnosis. A photo record of what you’ve been seeing establishes a timeline, captures conditions that may not be present on the day of the visit, and gives the sweep a head start on the inspection. It also protects you: when a repair recommendation references something you can see in your own photos, the explanation is grounded, not abstract.
Here’s what to photograph, and how:
- The exterior chimney, from the ground, all four sides if possible. Stand far enough back that the full chimney from roofline to cap is visible. The goal is to capture the condition of the crown, the cap, the flashing line, and any efflorescence or staining in one frame. Morning light, before the sun hits the brick directly, shows staining most clearly.
- Close-ups of any staining, cracking, or spalling. Get within a foot of the wall and fill the frame with the damaged area. These are the images that show the extent of a problem when you compare them year over year.
- The firebox, with flash, from a few inches inside. Capture the three firebrick walls, the damper position, the smoke shelf, and the hearth floor as separate images. Don’t rely on one wide shot; the depth of the firebox flattens details.
- The damper, from directly below. Angle the camera up and use the flash. A photo of the damper in the closed and open positions, taken on different days, shows whether it’s sealing differently over time.
- The interior of the upper chimney, if accessible from the roof or an attic window. Most homeowners won’t have roof access, and that’s fine. But if your attic has a view of the chimney chase or you can see the chimney from a second-story window, photograph that angle too. It fills in the side of the chimney that’s invisible from the ground.
- Any water staining or paint bubbling on interior walls adjacent to the chimney. This is the interior evidence of moisture intrusion, and pairing the interior and exterior photos in the same frame of reference helps pinpoint the water path.
Send these photos along with the booking or have them ready when the sweep arrives. We regularly review customer photos before we even leave the shop for a Belmont Cragin call, and the time saved in diagnosis translates to a more focused on-site inspection. Mention when each photo was taken, especially if you’re photographing something seasonal like snowmelt staining or summer musty odor, since those conditions can’t be reproduced on demand.
Belmont Cragin Specifics: Age, Weather, and What We See Most
The chimney issues we see across Belmont Cragin follow distinct patterns tied to the neighborhood’s housing age, construction practices of each era, and the specific weather the area receives. Knowing these patterns helps you understand where your own chimney likely falls, and what to watch for as the seasons turn.
Homes in the southern and western portions of Belmont Cragin, many built between 1915 and 1935, commonly have double-wythe brick chimneys with original terra cotta clay liners. Those liners are now beyond a century in some cases, and we see the expected spectrum: cracked tiles in the upper third, eroded mortar in the firebox, and crowns that were originally cast thin and have long since developed cracking. These chimneys were built to last, and the masonry often remains structurally sound, but the liners and crowns have aged out of their service life. The typical first service call on these homes is a sweep that uncovers a liner condition requiring closer inspection.
Mid-century homes from the 1950s and 1960s, which make up a large share of Belmont Cragin’s central and eastern blocks, often have chimneys that were constructed with lower-quality mortar mixes and sometimes without a clay liner at all, a practice that was allowed in some jurisdictions under older code editions. An unlined chimney operating today is a fire hazard by modern standards, and it also erodes from within as combustion gases eat at the mortar. Many of the mid-century chimneys we see have never been lined, and the fix is usually a flexible stainless liner system installed to bring the flue up to a safe, continuous containment standard.
The weather contribution comes from three directions. Winter freeze-thaw cycling works on masonry from November through March, and chimneys that sit on the north side of a home, shaded from the sun, experience more freeze-thaw stress than south-facing chimneys on the same block. Summer humidity in July and August drives the musty odor and condensation issues we discussed, especially in homes with central air that creates negative pressure. And spring rainstorms, which in recent years have arrived with heavier intensity than the historical norm, test the crowns, flashing, and caps of chimneys that may have gone years without a check.
What do we tell homeowners in Belmont Cragin to watch for, specific to this neighborhood? The list is short and practical:
- After the first hard rain of spring or fall, check for efflorescence or staining that wasn’t there before. The first rain after a dry stretch reveals failing crowns and flashing lines.
- If your home was built before 1940 and you’ve never had a camera inspection, assume the original clay liner is at or near end of life until proven otherwise.
- If you replace your windows or add insulation, expect your draft behavior to change. Tighter homes create more negative pressure, which stresses dampers and can pull chimney odors into living spaces.
- Watch the exterior face of your chimney each winter for brick faces that pop or flake off at random. Freeze-thaw spalling announces itself that way, and it’s progressive.
One more local note. Belmont Cragin’s bungalow belt has a high concentration of side-wall chimneys, where the chimney runs up the side of the house and breaches the roof at the eaves rather than at the ridge line. Side-wall chimneys are more exposed to wind-driven rain along their full height, and their crowns and flashing lines are under proportionally more water stress. If your chimney is on a side wall, check the flashing line and the exposed brick face above the roofline more often than a homeowner with a center-ridge chimney would need to.
Common Mistakes to Avoid
- Ignoring the summer smell as “just how old chimneys are.” A smoky odor in warm weather is always a signal. It might be a simple cleaning need, but it could be a liner gap or a failing damper. Either way, it’s diagnostic data, and ignoring it means discovering the real issue a year or two later as a larger repair.
- Assuming a sweep isn’t needed because you have a gas fireplace. Gas fireplaces produce different byproducts than wood fires, but they still need vent inspection and cleaning. A gas flue can deteriorate, a cap can fail, and combustion byproducts can accumulate in a vent that was converted from wood. Belmont Cragin homes that were converted from wood to gas decades ago often still have original clay liners and masonry that were never assessed for gas appliance use.
- Calling the first chimney company you find on Google and accepting a liner quote over the phone. No one can honestly quote a liner replacement from a sidewalk grade. A proper liner assessment requires a camera inspection of the full flue length, and any contractor who quotes that work without looking inside is guessing. The estimate is free, but the work is expensive, and you deserve to see the damage before you pay to fix it.
- Painting over efflorescence or brick staining before addressing the water source. Paint traps moisture inside the brick instead of letting it breathe, and trapped moisture in freeze-thaw conditions accelerates spalling. The white stain is a symptom. Paint can’t fix the underlying leak, and it often makes the brick fail faster.
- Waiting until the fall to check the chimney. By late September, every sweep in the Chicago area is booked solid for weeks. An inspection or sweep scheduled in the spring or summer gets better availability, and problems found in May have months of lead time to be repaired before the first cold snap. Belmont Cragin homeowners who call us in August are relaxed; the ones who call in late October are usually anxious and cold.
- Burning unseasoned wood and blaming the chimney for the resulting creosote. Fresh-cut wood that hasn’t dried for at least twelve months burns cool and smokes heavily, and that’s how creosote accumulates at an accelerated rate. A chimney that’s swept every year but fed a diet of wet wood will show creosote buildup again within one season. The right wood, burned at the right temperature, is half the battle.
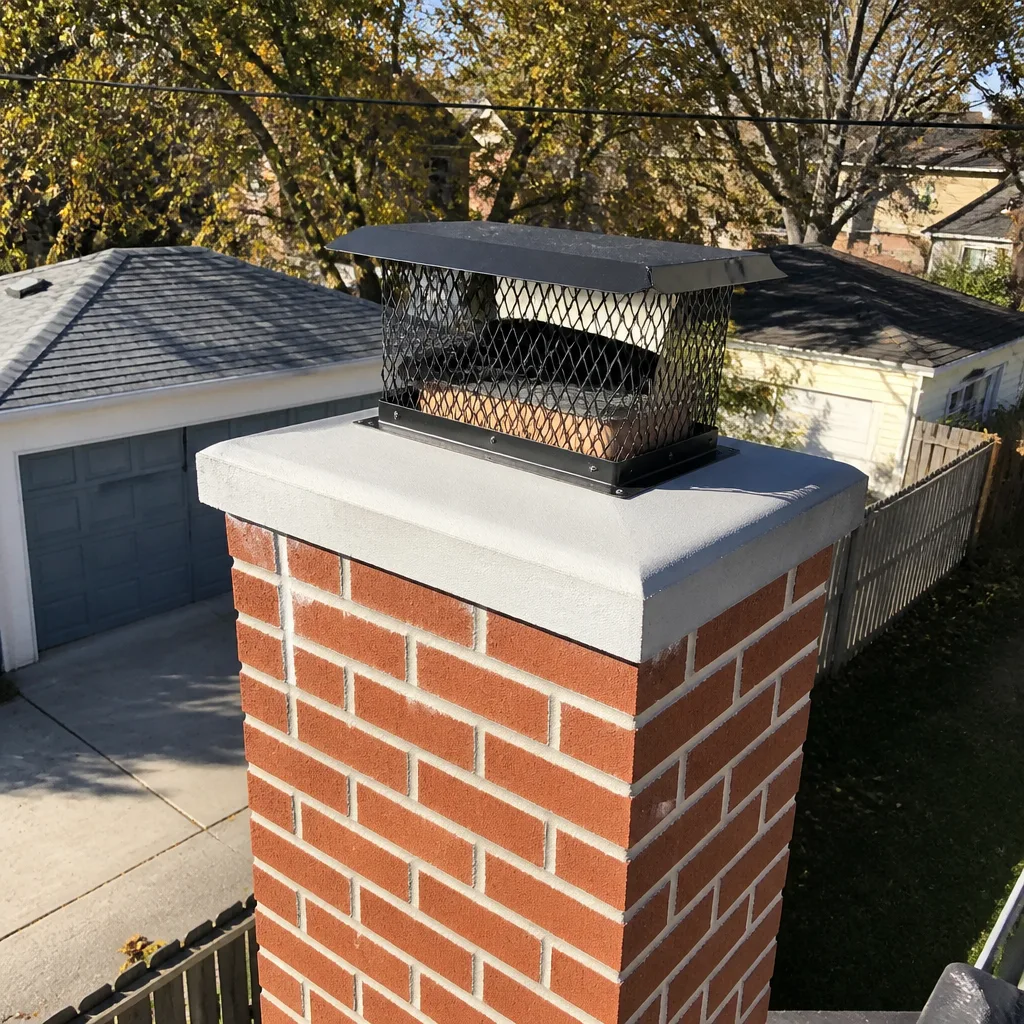
See the difference
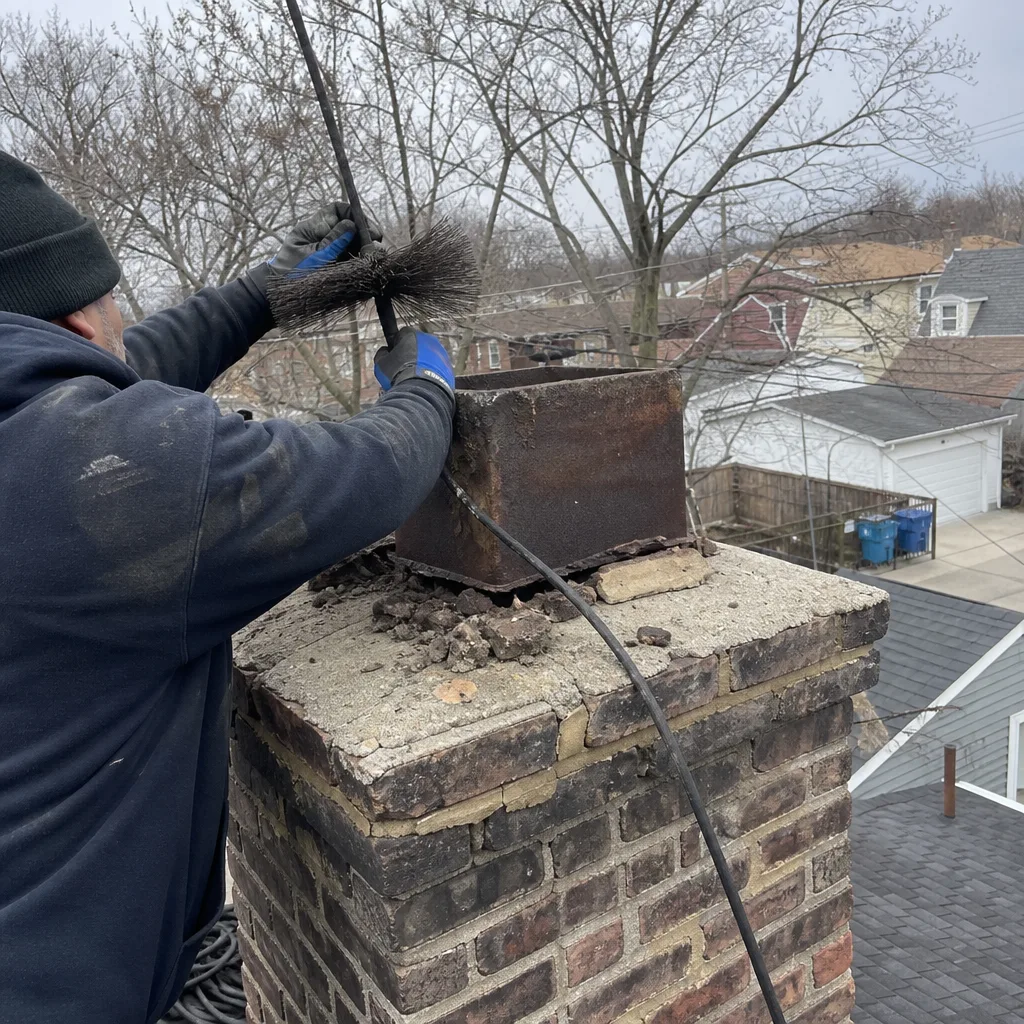 Before
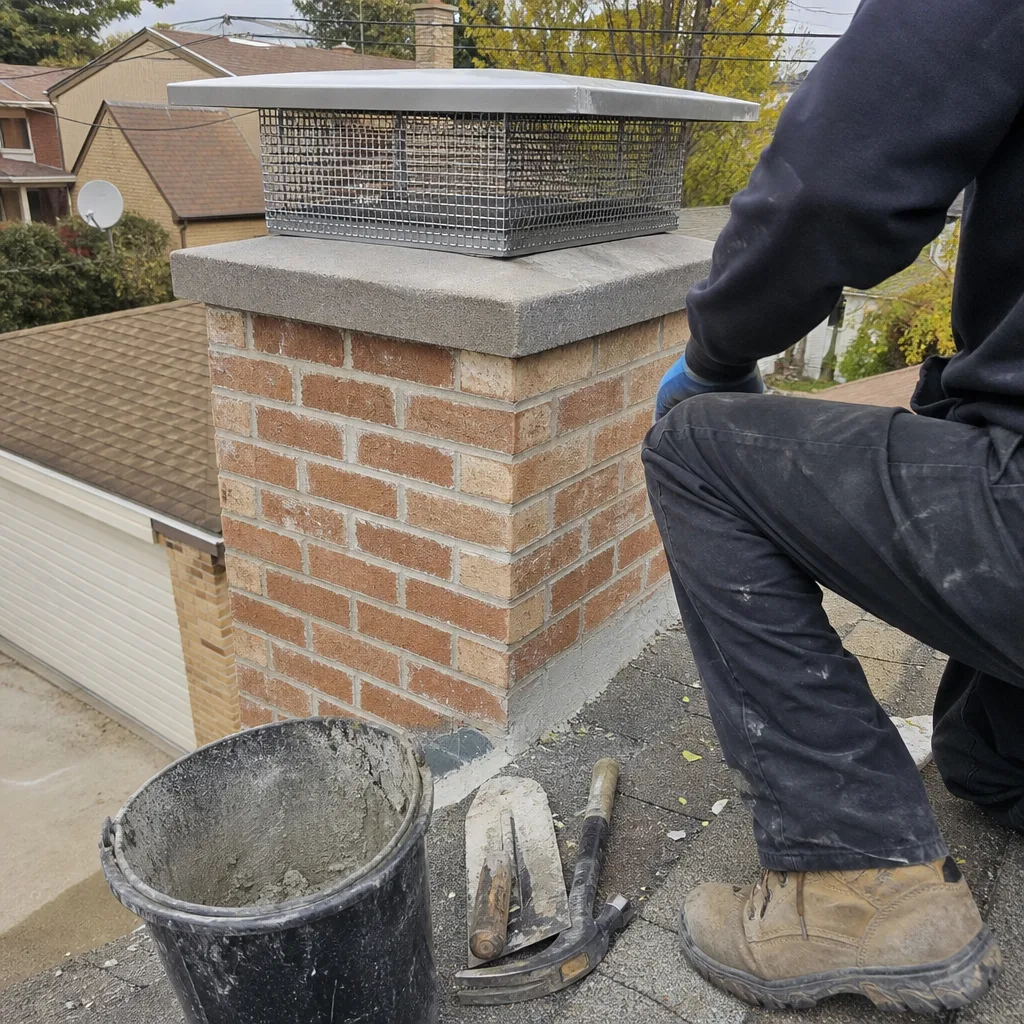 After
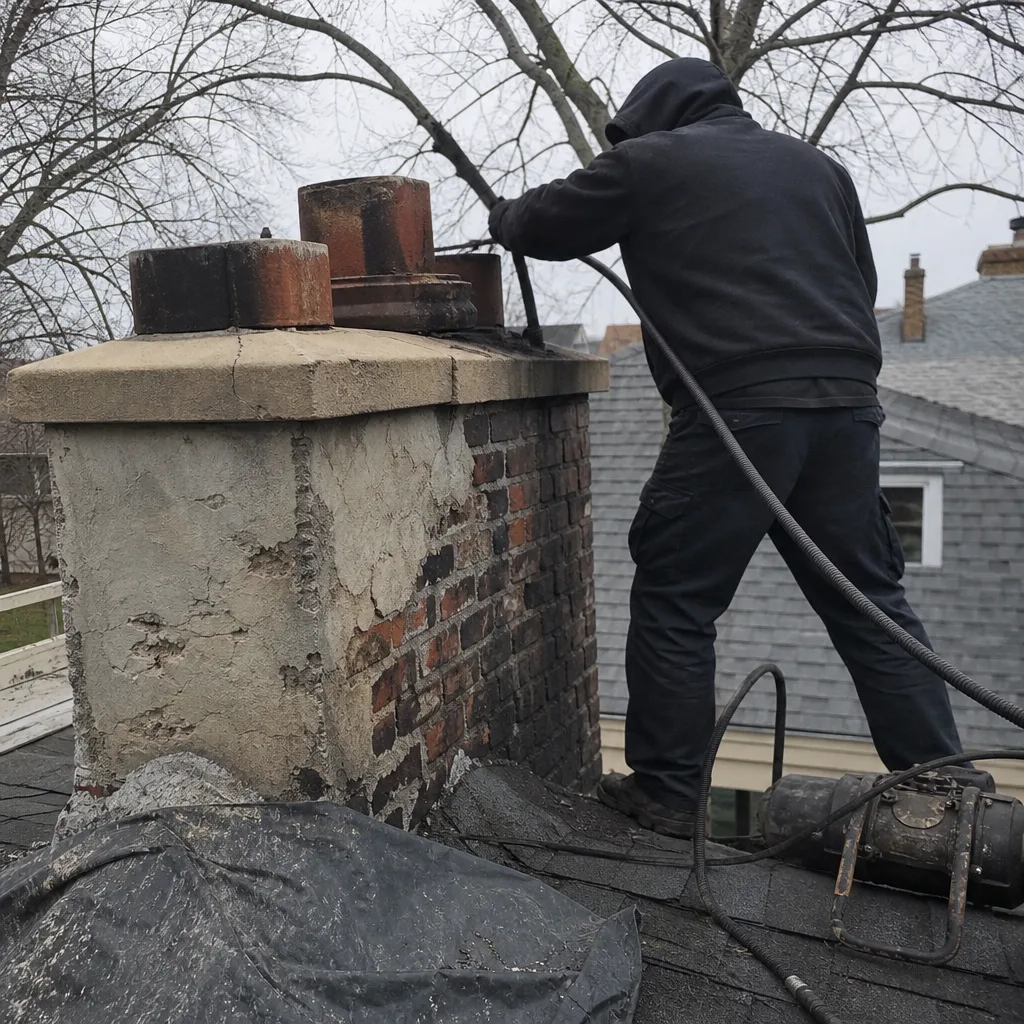 Before
 After
 Before
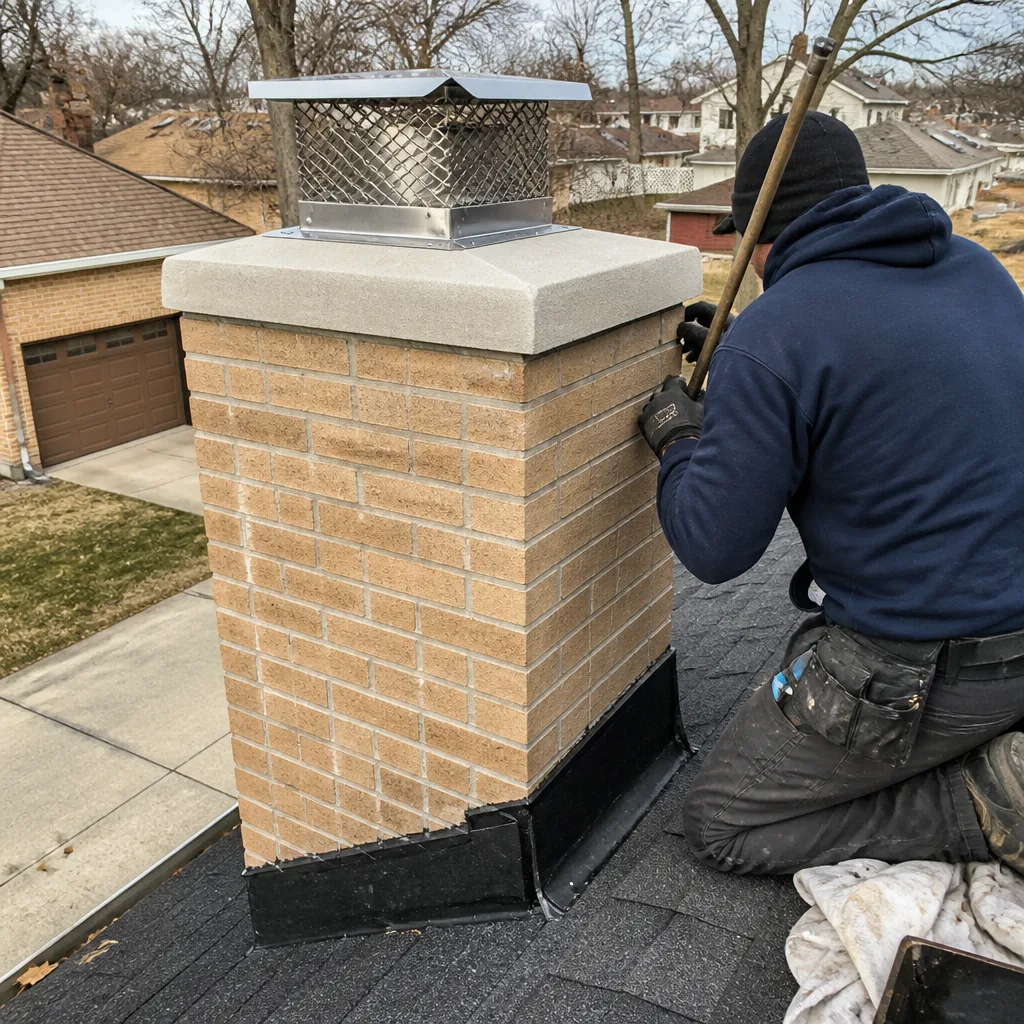 After
When to Call a Professional
Call a professional when you’ve noticed any of the warning signs in this guide and you want to know what they mean, before the next burning season, while scheduling is still flexible. Call when a summer smoky smell persists, when efflorescence appears or spreads, when your damper won’t seat, or when your firebox shows cracking that wasn’t there last year. Call when you’ve bought a home with an older chimney and you want a baseline camera inspection before you light the first fire. And call when the word “liner” has come up from another contractor and you want a second opinion grounded in images, not assertions. Crossroads Chimney Sweep offers free estimates in Belmont Cragin. Our Crossroads Chimney Sweep home page covers all three of our service areas: chimney sweep in Belmont Cragin, chimney repair in Belmont Cragin, and dryer vent cleaning in Belmont Cragin. Call (877) 265-6720 to book an inspection.
Frequently Asked Questions
A standard chimney sweep in Belmont Cragin runs between $180 and $300 for a single flue, with the exact price depending on the flue’s interior condition, the amount of creosote present, and whether any clearance issues at the roofline add ladder time. Access and condition factors, like a third-story roof or heavy creosote glazing, add to the base range. The sweep includes the cleaning itself plus a visual inspection of the accessible structure. Call (877) 265-6720 for an exact quote based on your home, estimates are free.
Not necessarily. A single hairline crack in one tile, without displacement or additional cracked tiles, can sometimes be monitored or addressed with a targeted repair rather than a full liner replacement. The determining factors are whether flue gases can escape through the crack, the overall condition of the tile stack, and whether the tiles are stable enough to serve as a substrate. HeatShield resurfacing restores a continuous flue surface without a full tear-out when the tiles are otherwise sound. A camera inspection settles the question definitively.
The short answer is at least once per year for a wood-burning fireplace that sees regular winter use, and more often if you burn two or more cords per season or burn wood that’s not fully seasoned. The longer answer depends on burn frequency, wood quality, and fireplace type. A gas fireplace typically needs less frequent cleaning but should still have its vent and burner inspected annually. If your chimney accumulates more than a quarter-inch of creosote per season, increase the sweep frequency rather than letting it build.
Creosote accumulates, and it builds fastest at the coolest points in the flue, the upper third and the smoke shelf area. With each season of skipped sweeps, that accumulation thickens, and the flammable creosote becomes the fuel for a potential chimney fire. A chimney fire burns intensely, it can crack the liner and damage masonry, and in the worst case it escapes the chimney and catches the house framing. Skipping a sweep is a risk escalation that you can’t see from inside the living room, because the danger zone is up the flue, out of sight.
Summer chimney smells come from creosote off-gassing in warm weather, and the smell enters your home when reverse draft conditions occur, most often when the air conditioning is running and the house is depressurized. The smell usually points to one of three things: creosote buildup that needs cleaning, a damper that isn’t sealing, or a liner gap allowing flue air into the wall cavity. A sweep with camera inspection can identify which one applies to your chimney.
Mostly by degree rather than kind. Belmont Cragin’s housing age concentration, with a heavy share of pre-1940 brick construction and 1950s-era chimneys, means the specific issues of aging clay liners, thin crowns, and original flashing recur more frequently than in neighborhoods with newer housing stock. The weather stress is the same Chicago freeze-thaw and summer humidity picture, but the older housing stock amplifies the effects because the chimney components are further along in their service lives.
The Bottom Line
Chimney warning signs are information, not emergencies, and reading them accurately saves you from both unnecessary big-ticket repairs and slow-developing hazards. White staining points to water paths, not cosmetic blemishes. Summer smoke smells point to draft behavior, creosote, or a liner gap, and the fix depends on which one. A cracked tile is a data point, not an automatic liner replacement, and HeatShield resurfacing exists precisely because the distinction matters. Photograph what you see, schedule before the fall rush, and start with a professional inspection that shows you the evidence. Explore more guides & resources on keeping your chimney safe year-round. Belmont Cragin’s older chimneys are worth understanding, because the homeowners who read the signs early are the ones who get to choose between a repair and a replacement, rather than having the choice made for them after a neglected season.
Written by the team at Crossroads Chimney Sweep, serving Belmont Cragin and the surrounding Chicago area. We work with professional-grade chimney materials including DuraFlex, HeatShield, and Copperfield, and we’re a call away at (877) 265-6720.